Ceiling Fan Installation Done Right From Start to Finish
A ceiling fan install sounds simple. But get it wrong and you're dealing with wobbling blades, flickering lights, or worse - a safety issue you can't see until it's too late. That's exactly why we take our time and do it right.
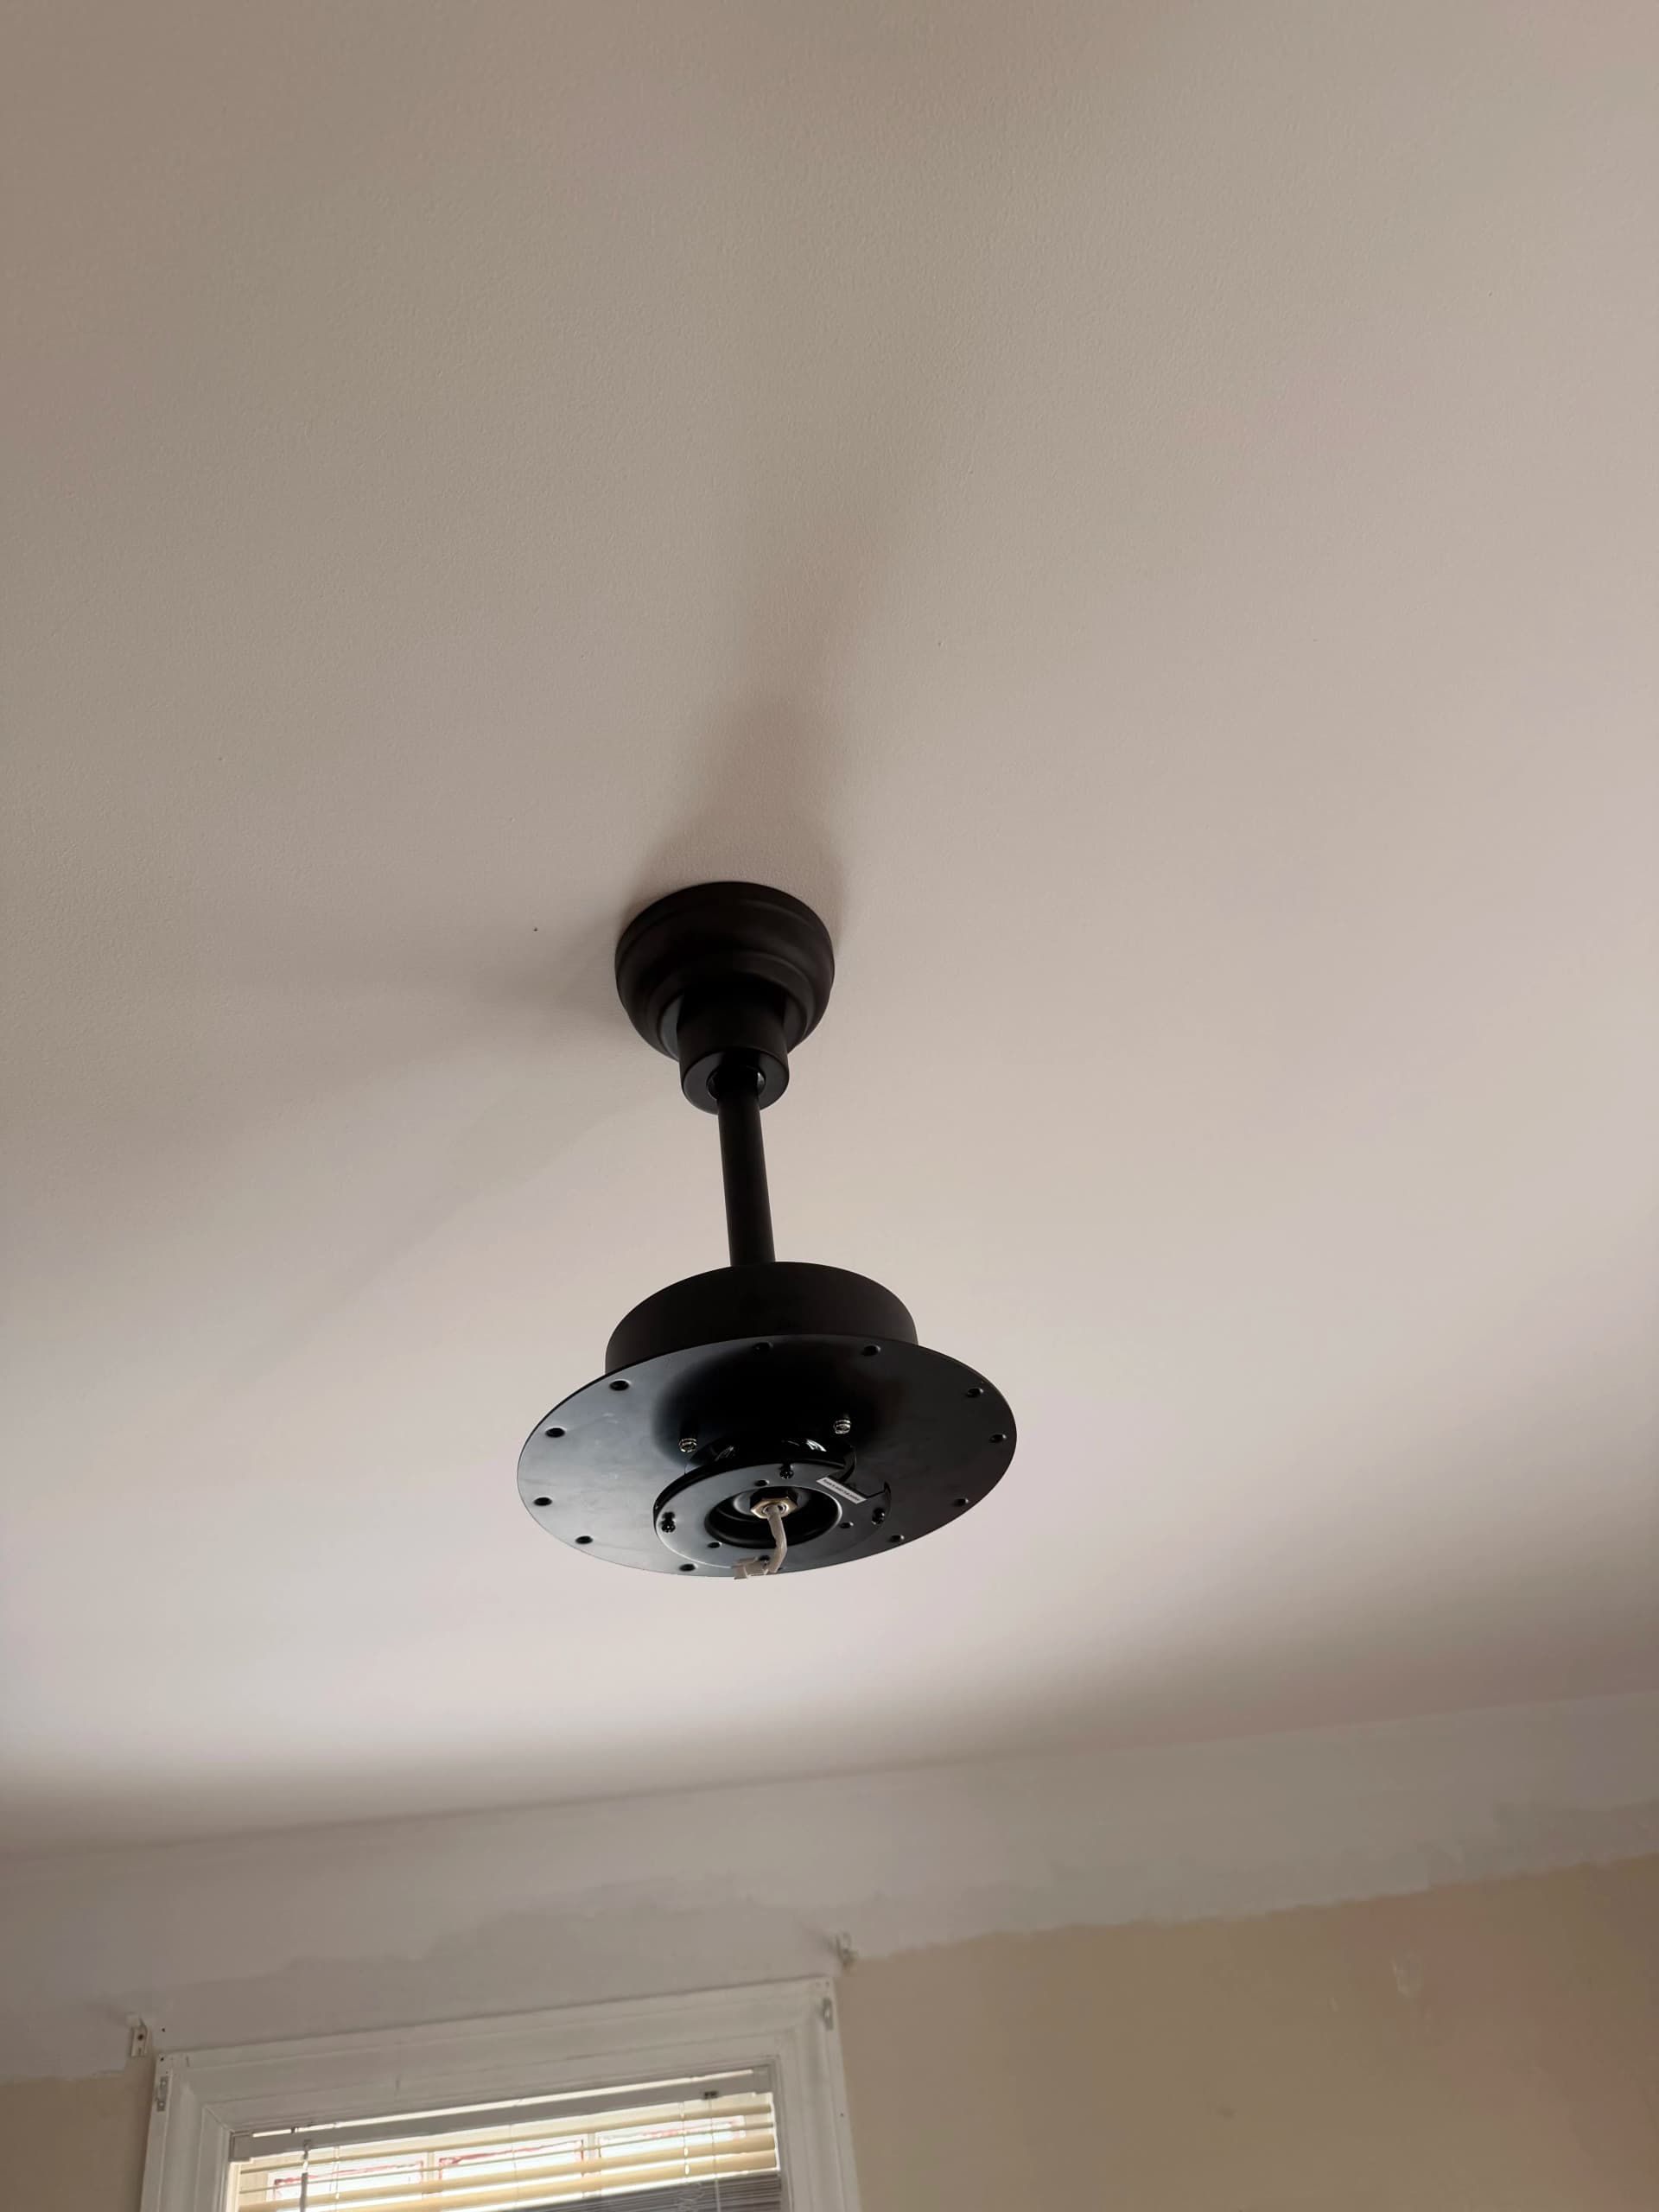
Here's what the process actually looks like. We start at the mounting hardware - making sure the bracket, canopy, and downrod are seated correctly before a single blade goes on. That foundation step is what separates a fan that runs smoothly for years from one that vibrates and rattles every time it kicks on.
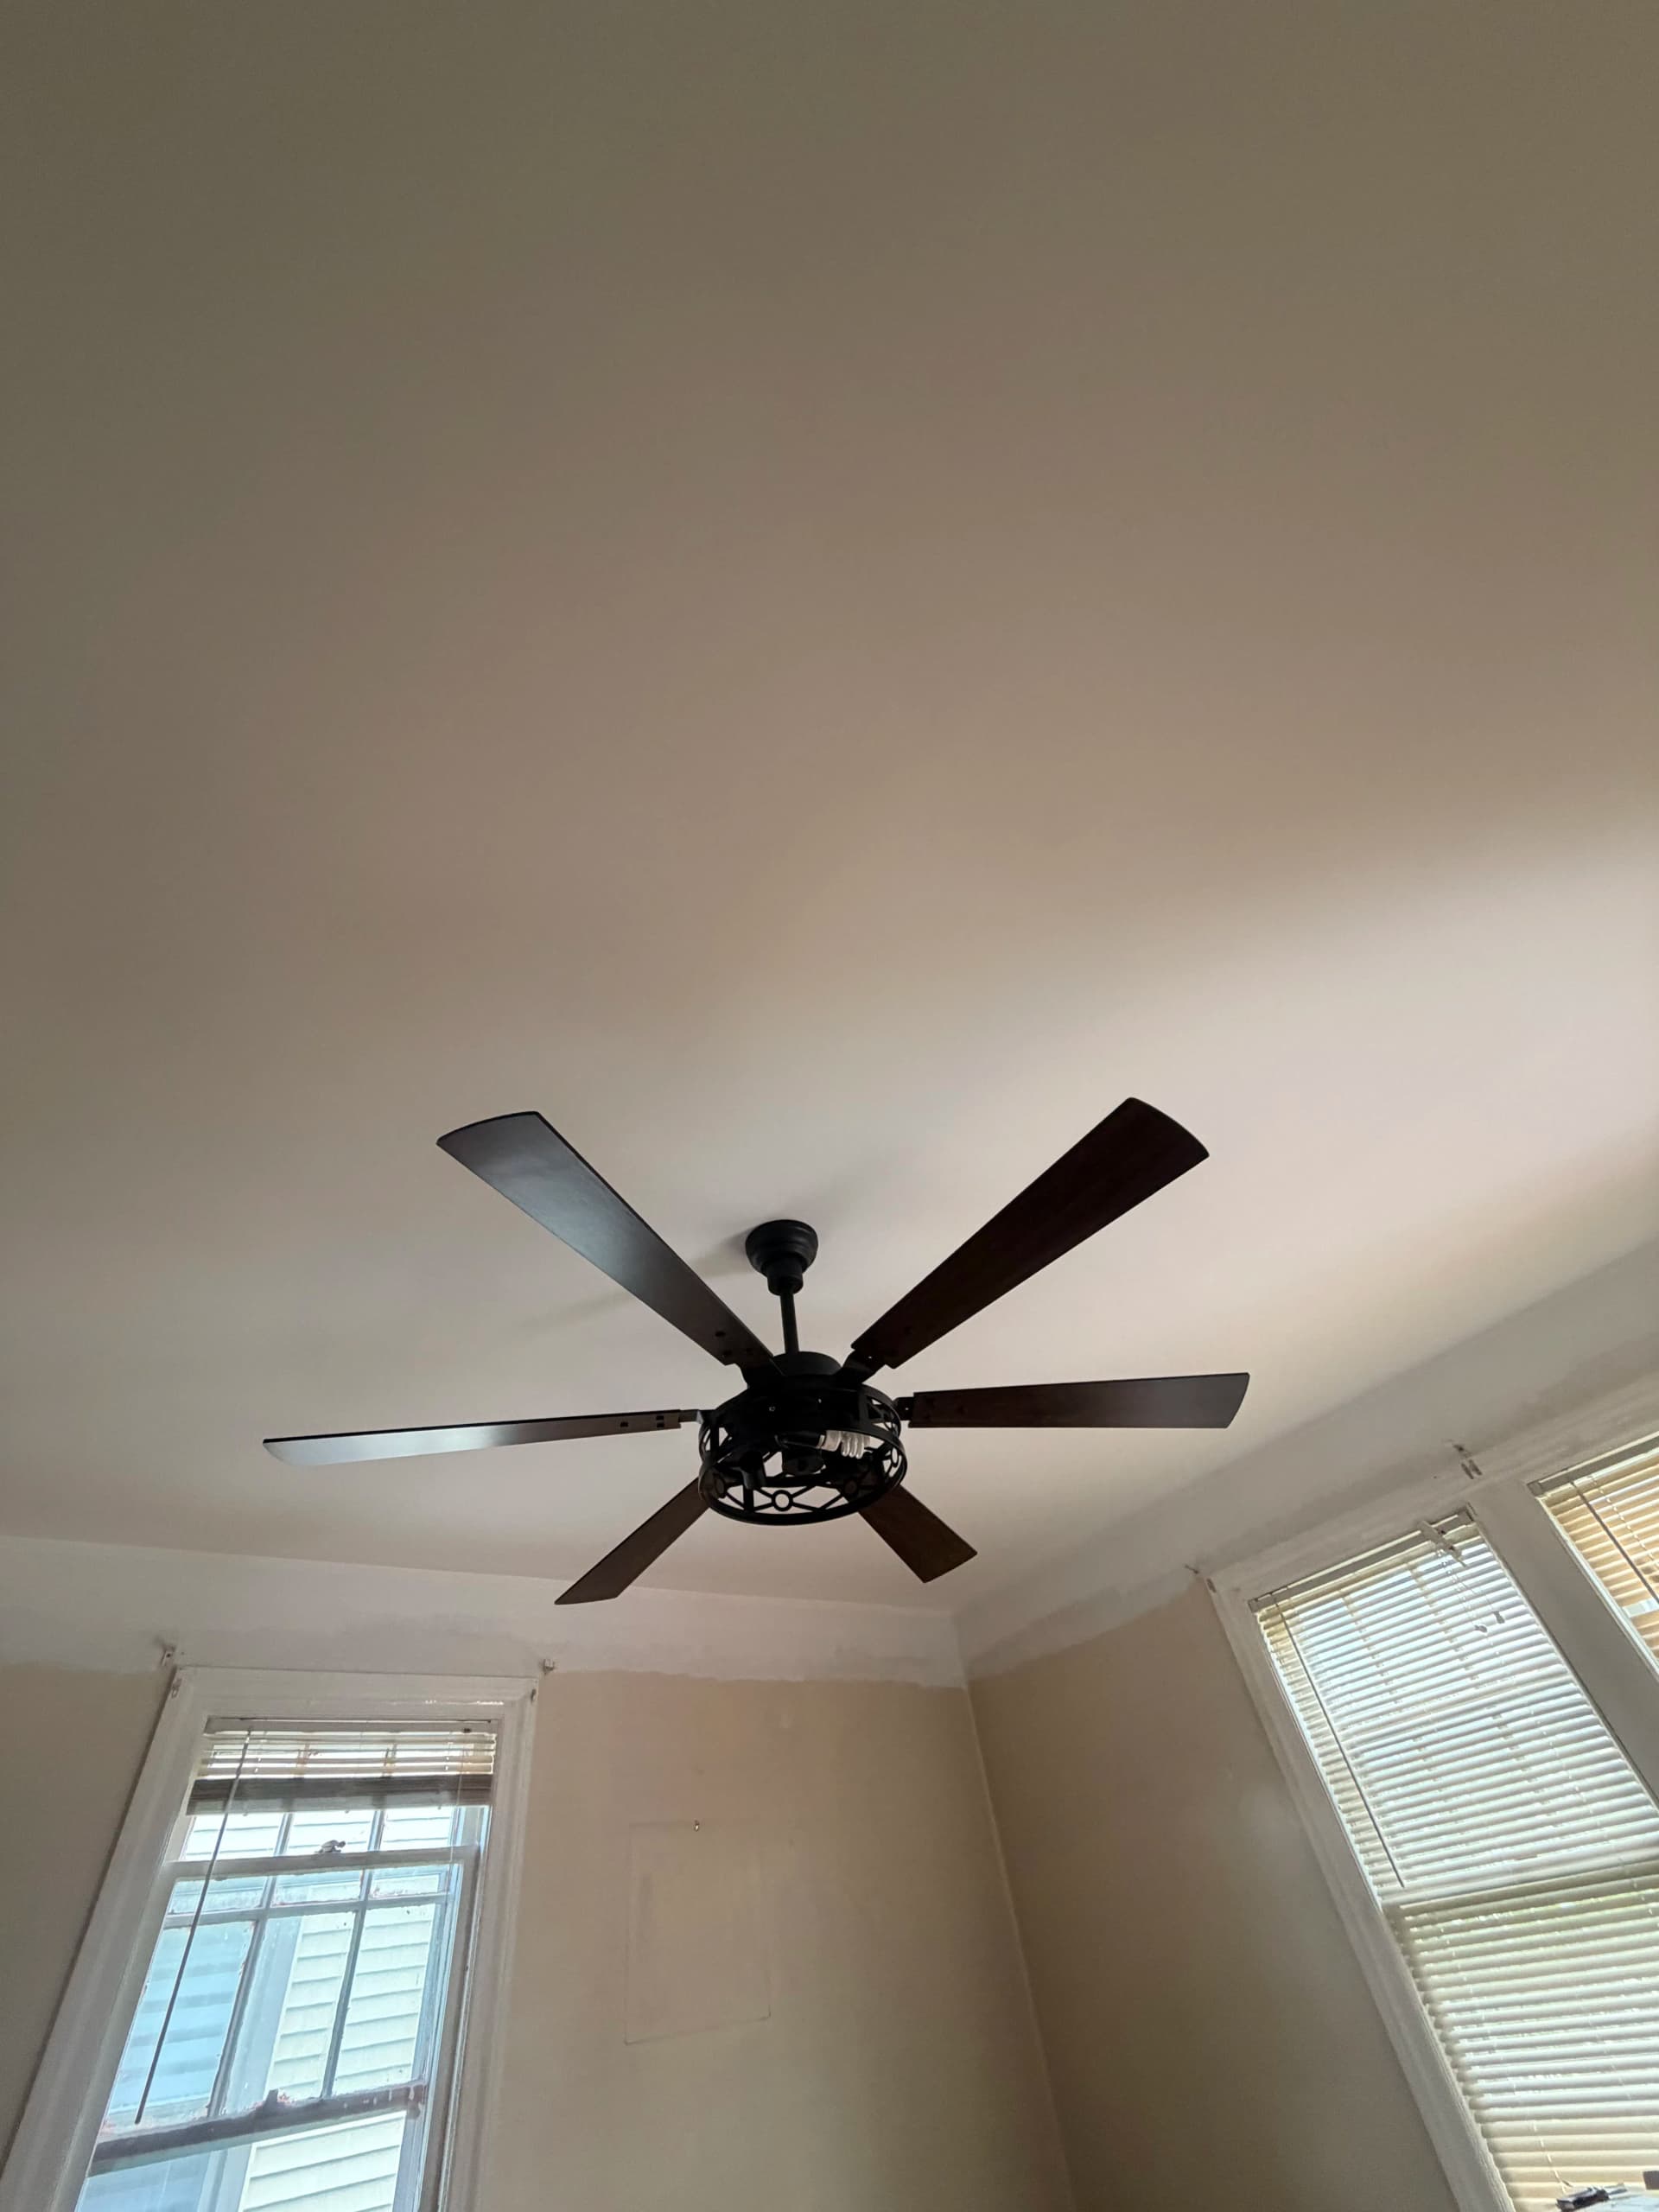
Once the motor housing is secured and all the wiring is done properly, the blades go on. The finished result is a large six-blade fan with a matte black finish and a built-in light kit - clean, solid, and centered in the room. It pulls the whole space together while actually doing its job keeping air moving.
The details matter here. A flush, tight canopy against the ceiling. Blades that sit level. Wiring that's tucked and safe. None of that happens by accident - it comes from paying attention to every step of the install, not just the end result.
This is exactly the kind of ceiling work we handle. Whether you're upgrading an old fan, adding one where there wasn't one before, or just want the job done without the headache - we've got it covered.